
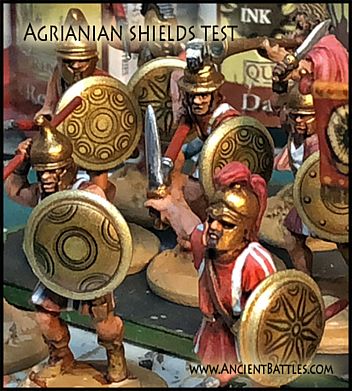
Test photo of decals/transfers in place.
Make your own home-brewed hoplite transfers
|
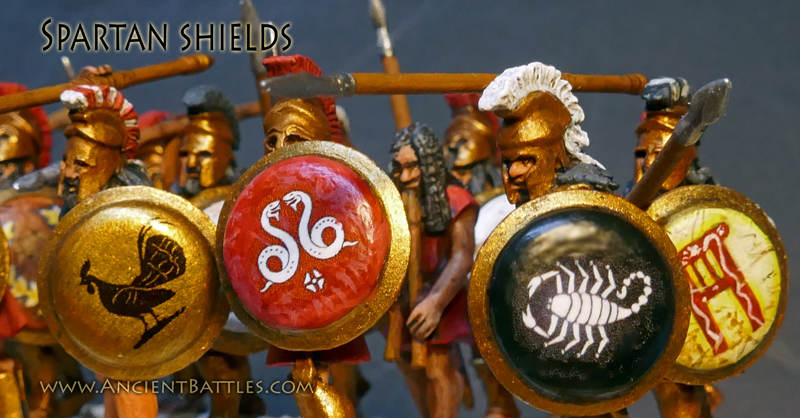
Figure 1: Hoplite decal test.

|
Figure 2: Agrianians decal test.
 |
|
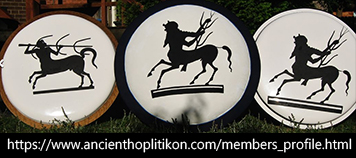
So I did some research in my personal library and online and found plenty of designs that are more “Spartan” looking. Vase art is the best source for realistic designs in my opinion. Reenactors have the cleanest looking shields. Plus there are plenty of artwork online to inspire one’s fancy. Vase art is the
best source for realistic designs:
This
site has a plethora of shield ideas: Reenactors have the cleanest and coolest looking shields. Plus there is plenty of artwork online to inspire one’s fancy.
|
************
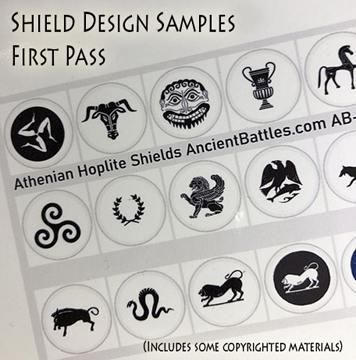
My first pass hoplite
shield designs represented generic types, and
since these are not meant for commercial release some of these
designs were not retouched from their sources. But I wanted more of
the designs above in this next group so I had to turn to Photoshop.
The materials I used are available online, the decal paper by
“Classic Mules” works great. I bought it on Amazon.com. (Note: this
brand seems to have disappeared, so other similar brands need to be
found online.) The transfer paper can be solid white as well as
clear.
Once printed out the decals need to be coated with a clear coat
waterproof varnish.
I use Krylon Crystal Clear spray varnish as it is very clear,
doesn't yellow, and dries fast. Just spray it over the page
surfaces of the decals. Two thin coats is usually best because if
you don't seal the decals they will fall apart in the water. You can
see I uses a template where each design is placed in a guide that I
print out to make it easier to trim. It is wise to heat dry the
sheet with a hand held low heat hair dryer. The key thing is to do
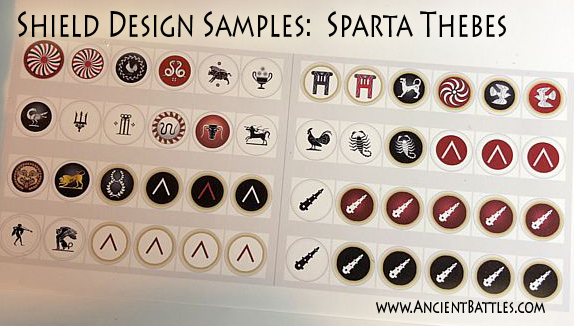
as many on a sheet as you will need. This test sheet (below) has a
gap in the middle where a bunch of Athenian designs are in progress.
This template ultimately has room for 144 designs. If I decide to
drop off the grey guides I can add some fancy meandering rims as
well.


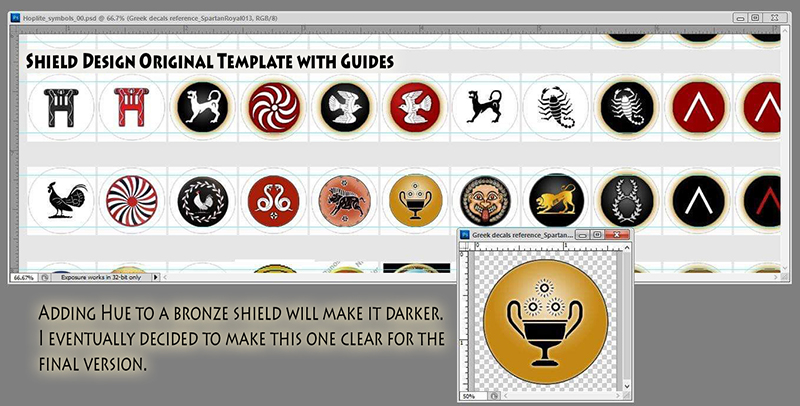
The
template serves as a place to drop in outside files, either created in
PhotoShop (PS) as raster, or vector art done in programs such as Adobe
Illustrator or Affinity Designer.
I like PS because of the layers process, but it makes big files on
your hard drive.
In (A), the reference source design is scaled into a 512 x 512 image
that serves as the “high resolution” version.
Once the design is cleaned up (B) it has a zeroed out background set
and is saved as a .png file. This file is then placed into a
PhotoShop layer and it stays a “smart object” which has a higher
resolution than is shown. My printer will print a good 150 dpi image,
but my file is set to 300 dpi just in case I want to try a higher
resolution output someday.
Make sure your template page is set to A4 or 8 1/2" x 11" to match
your output paper.






Where do you want to go next? Click on:
Back
to AncientBattles.com Index
02/04/2020