|
The Curtis Corner
|

Ptolemaic Phalangite Project:
Phase Five
Finishing the Ptolemaic Project

Once again, thanks to Allen for helping me with this
project. It seems I have less and less time for my army building hobbies nowadays. His
ability to step up and paint the Ptolemaic regiment, and do his super swell documentation
is both a boost to my army collection and AncientBattles.com's attempts to provide useful
hobby information.
This part is about how I finished up what Allen sent me. To recap, I painted some samples
to show off the 1st Corps machimoi phalangites a number of years back, and I ordered a
bunch more to fill out a proper WAB unit. But like many projects, they just sat there in a
bin. The latest release of 1st Corps
Successors added some more interesting models to the mix and since they sent me
samples I determined to get off my butt and get them integrated with the original release.
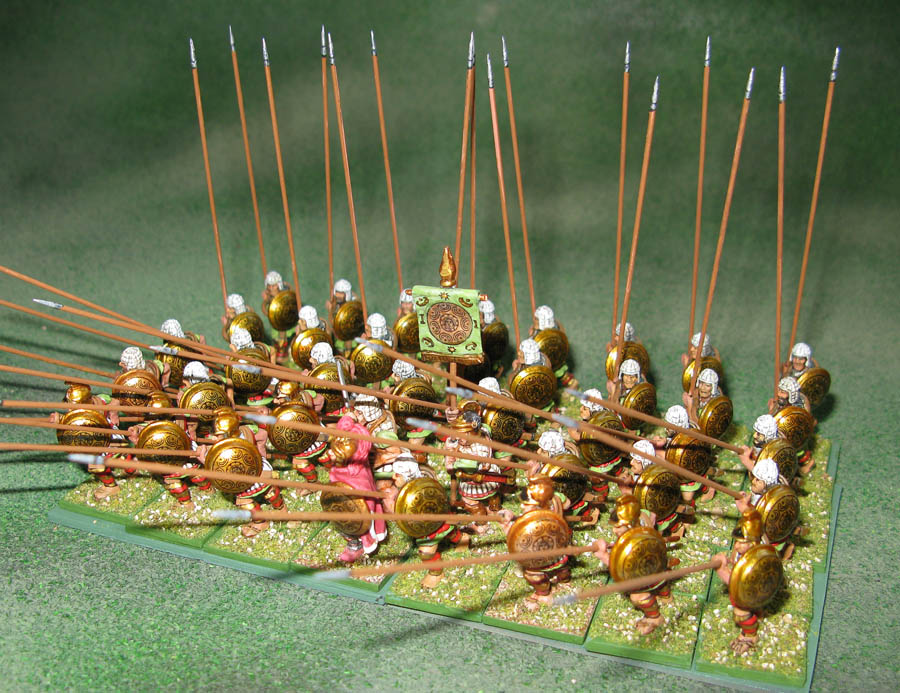
Allen has done an admirable job of describing how he matched my figures to paint up the
body of the regiment... now I have this spectacular 40 figure phalanx to be proud of.
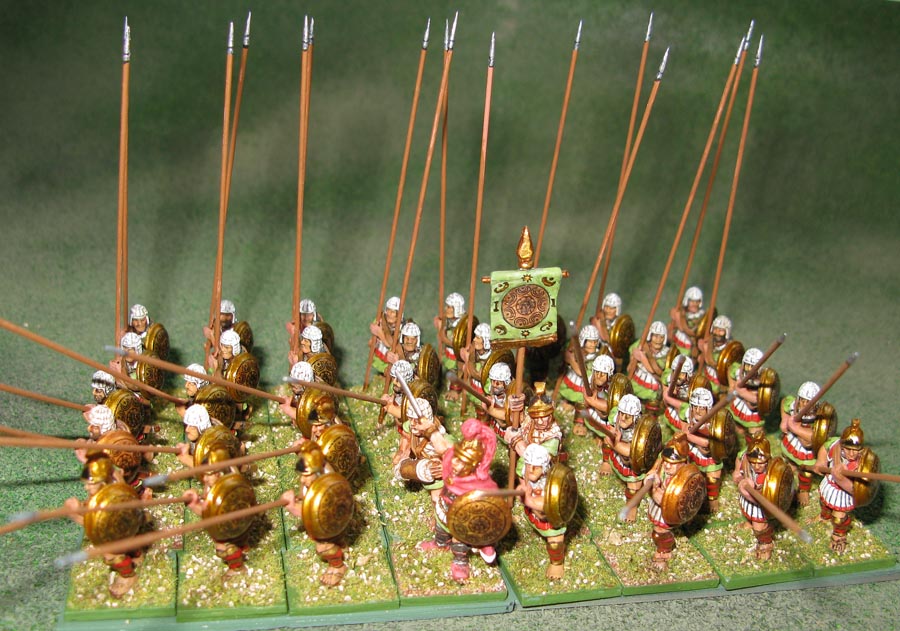
Just an aside these are hypothetical Ptolemaic figures, they are based on quite a bit of
guesswork. The machimoi were the warrior class of Egypt, and were kept out of
service by the Persians and their Macedonian overlords. During the emergency of 218 BC the
Ptolemaic vizier raised them and trained them as a phalanx to face the unstoppable
Seleucids as they overran Syria. After stalling with negotiations the army was ready to
fight in 217 BC and they faced off at Raphia, just south of Gaza. The Ptolemaic army lost
the elephant and cavalry battle, but the untested machimoi held the Seleucid
phalanx and with help of their right wing troops broke the Seleucids. It was a unexpected
and dramatic victory for the native forces.
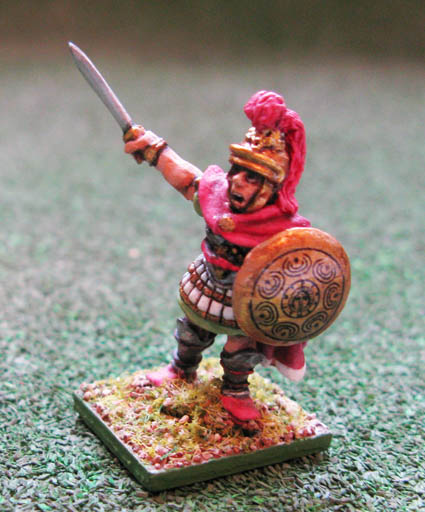
These figures carry on a wargaming tradition that these
Egyptians were dressed in native style, it's kind of a fun tradition, even though odds are
they probably looked more like regular phalangites. This is why I wanted to mix the
helmeted dudes in with the quilted helmeted figures.
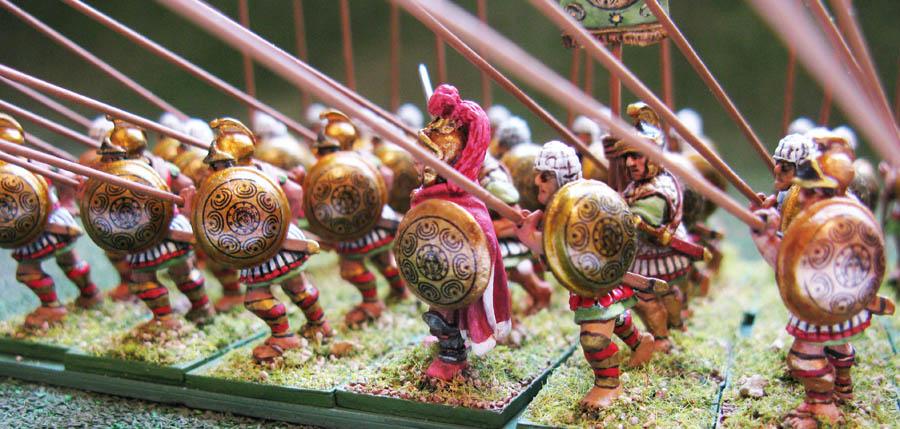
The other thing I wanted to try out with these figures was to make some home made
transfers. Store bought are ok, but often they tend to go over the top with their designs.
I wanted a design that matched the normally embossed shields. Embossed style shields
are a bit ornate than I wanted to tackle with paint, so I took the plunge and ordered some
decal paper from the following website:
But before I completely jump the gun, I should briefly describe the processes to get the figures ready for that final step. Once I unwrapped the figures from the perfect packaging I based them on some Litko bases. One thing I had requested from Allen was to drill out the pike hands, but leave them off so he could paint the detail, plus it is easier to pack figures without attached pikes. I quickly realized that painting the pikes and then pushing through the holes was going to be tedious as the paint stripped off, and I did not wish to risk ruining the paint job by re-drilling the holes. My compromise was to glue the pikes on unpainted. This went quite easy. Then I painted them with a base of Gesso mixed with some Ceramcoat Autumn Brown. This stuck pretty well and the Gesso fixed to the bare metal. Another coat of light brown and I was done with that step. The tips were dabbed with silver and butt spike area got bronzed.
Finishing the bases. I decided a long time ago that life was too short to fuss with bases. So for these I just used my 'trail-mix' of grass and sand and pebbles to finish. Later on I may add some more rocks and dressings to this base level. The trail mix is random and fills in ok... it's not as good as well prepared basing, but who knows the next gaming system may say toss individual basing -- out the window.. and then I'd feel sick if I put a ton of time in. Anyway the trail mix just goes on over white glue and I finally got this step done one morning before work.
Now back the decals. I came up with a design in PhotoShop, this is combined from a number of Ptolemaic items. The word Ptolemy surrounding an idealized face of the King, with various Macedonian filigree surrounding that.
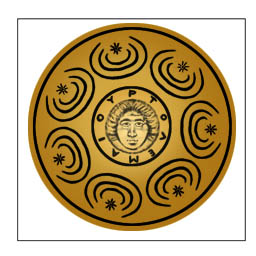
Ptolemaic decal design.
I did the image much larger than the printed version, hoping the lines would hold. Then I grouped the images in 40 unit groups on a master page. This was set for 150 dpi and I adjusted the percentages and ran a test copy on paper. Once I had the shields scaled to the correct size, I put in the decal paper and there they were! The next step is simple too. I sprayed the sheet with Krylon Crystal Clear to protect the top and keep them from cracking when affixing. Once the two or three coats of Krylon had dried (I gave it 24 hours), they were ready for the dip into water. As you can see I gave myself a rectangular guide box so I could cut the small decals out and have something to hang onto. Cutting them down into fours, then singles was easy.
Once the first one was dipped for a minute it came out, and slid off the backing
fairly easy. These are not too tacky, some may prefer to use Micro Set by Micro
Scale first. I used the opposite tact, I got the decals pressed onto the shield with
simple pressure from my damp T-shirt. Most of them conformed perfectly to the shield's
curves, some were troublemakers. After each one was in place I then brushed on Micro
Set, this softened them and made them conform better. After they were all done I
brushed on some Klear floor coat which shined them up quite nicely. The black lines dull
the shields a bit from a distance, but up close they are quite fine looking. For an
investment of about 25$ I have forty sheets of decals making stuff now, I am already
thinking of the next project to home-brew!

Decal design sheet at x2 scale, these were reduced to 50% and printed at 150 dpi
on my HP PhotoSmart printer.


I gave the old standard bearer a new 1st Corps banner, and used a decal as the
symbol. I think my decals idea worked fairly well, what do you think??
By the way, the new 1st Corps new cavalry are quite
nice!!
Thanks to everybody that has followed this page and supported my website over
these long years, and thanks to Allen for his nice article.
Jeff Jonas.